Hardtop pavilion planning
A garden photography pavilion: background, working distance and stray light
Test background position, camera distance and ambient light separately for a garden photography setup.
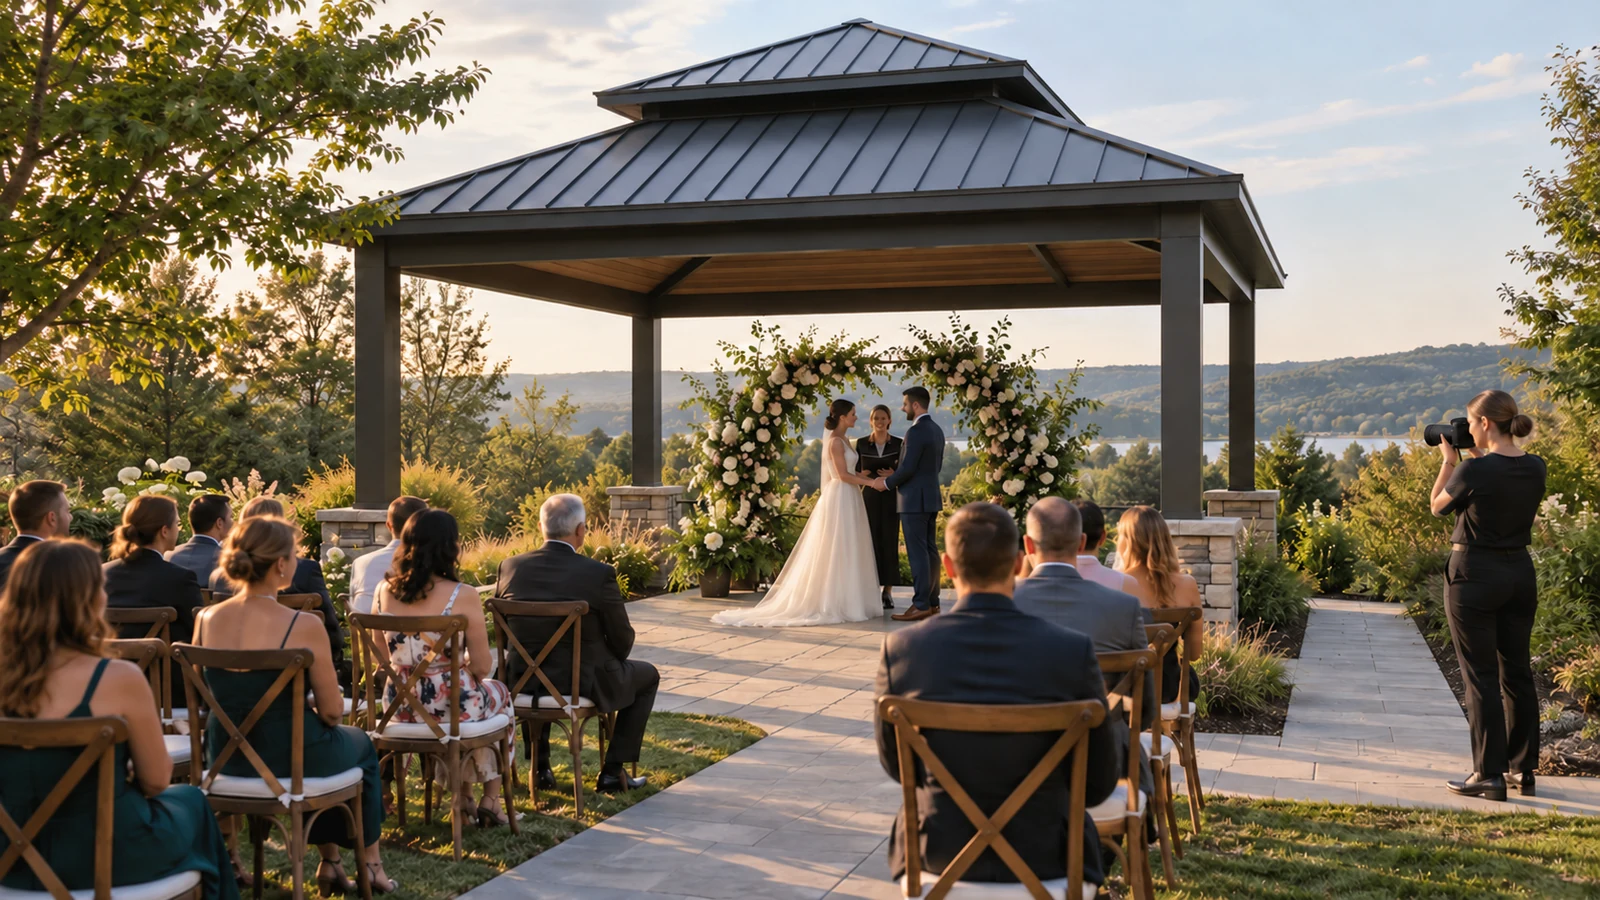
Define the framing and shooting task
Define whether the pavilion will host portraits, products or another scene, and whether framing is full length or close. Background width, camera distance and subject movement vary with that task. Roof coverage does not make ambient light constant; direction, time and surroundings still matter. Test the actual camera and lens at the proposed position where possible. If access is not yet available, retain the rehearsal as a condition of the plan before purchasing a background system that may not fit its working space.
Specify backgrounds and equipment support
Map the background, subject, camera, lighting and people using the deployed equipment outlines. Do not assume beams or curtain tracks can support photographic equipment; attachments and added loads need specific confirmation. Independent stands follow their own requirements. Power, cables and equipment environment belong in the corresponding plan. Include storage after the background is removed, otherwise the leisure area may remain occupied by stands and rolls. Distinguish temporary shooting configurations from the everyday layout so transitions are practical and repeatable.
Compare tests at different intended hours
Suppose the background works in the morning but receives bright patches or reflections later. Record time, camera settings, positions and curtain state before adjusting schedule or layout. If curtains form part of the setup, test them deployed and check access and storage effects. Comparable tests need the same task and clear conditions; photographs made with different lenses or exposure choices cannot by themselves establish a configuration advantage. The outcome is a reproducible setup record, not a promise that weather and daylight will repeat.
Translate rehearsal findings into purchasing conditions
Summarize required background space, stand positions, storage and tested hours, marking pending site checks. Ask the pavilion and photographic equipment suppliers about their respective products. Recheck the same task after installation and update changes. A hired location can describe tested arrangements and limits without presenting general shelter as specialist photographic performance.
Retain a few contextual sample frames rather than unrelated private content. Their purpose is layout verification, not an unsupported equipment or commercial-results guarantee.
- Test framing, working distance and ambient light.
- Confirm support and power for the actual equipment.
- Keep sample results with timing and setup conditions.
Does a hardtop pavilion naturally provide consistent portrait light?
Side light, timing and reflections still affect images. Test the intended lens and background at relevant hours and record positions. Confirm equipment support and environmental requirements separately rather than assuming the pavilion can carry it.
More questions, practical answers →