Solutions
Garden & patio
A useful garden shelter starts with the way you move, sit and share the space. Plan sunlight, furniture, drainage and access together, then choose the roof and side options that fit those decisions.
Discuss your project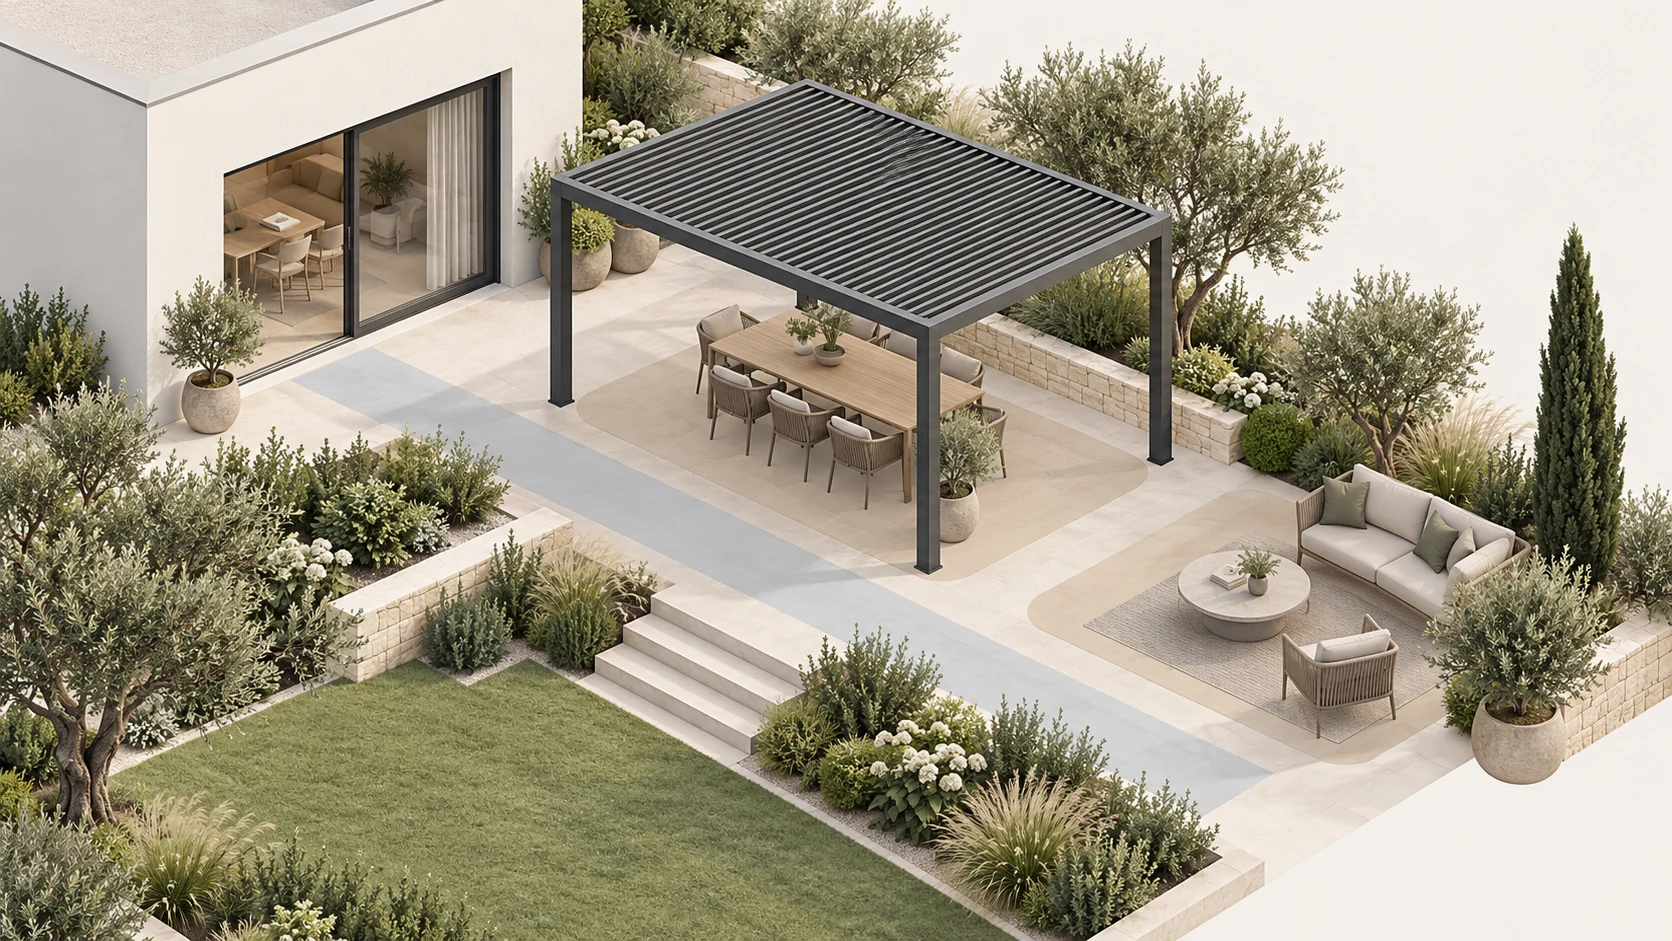
Start with the occupied space, not the roof outline
Measure the furniture with chairs pulled out, doors open and the usual walking route in use. A roof that fits the paving can still put a post in the doorway or leave the dining table exposed to afternoon sun. Record the house-facing edge, the direction of low sun and where water can leave the terrace. These observations shape the layout before a model is selected.
- Mark dining, lounging and circulation as separate zones.
- Photograph thresholds, roof overhangs and the ground beneath each proposed post.
- Keep maintenance access to gutters, controls and side-panel tracks.
Match the type of shelter to the daily routine
An adjustable louvered pergola suits a space where shade and overhead ventilation change through the day. A hardtop pavilion creates a fixed sheltered destination in the garden. A retractable awning suits a wall-side terrace where the fabric can be retracted when shade is not needed; its mounting and operating limits must match the selected model. A solar canopy adds an energy-system brief: module layout, electrical design and drainage need their own review. These systems solve different problems and should not share assumed performance figures.
Garden dining and lounge solution
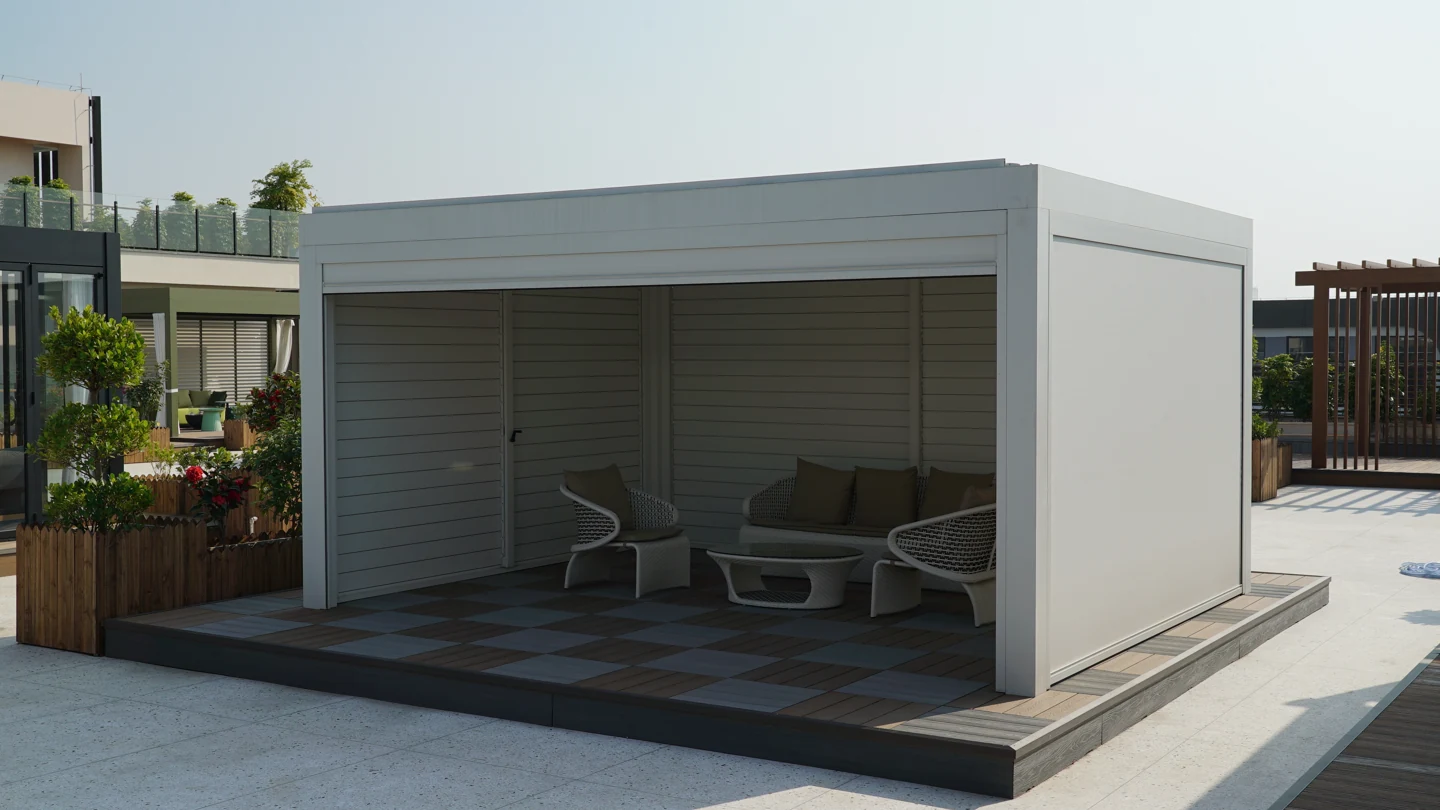
Place the dining area beside the house and orient the lounge toward the garden. Keep the house-to-garden route outside the chair movement zone, then position the roof posts around that circulation plan. Use adjustable louvers to manage overhead daylight and assess a side screen on the edge exposed to low afternoon sun. Keep the garden-facing side open for access and the view. Where sliding glass is required, coordinate its track, stacking position, cleaning access and ventilation with the furniture layout. Complete the proposal with a marked plan, selected roof and side options, lighting positions and the final drainage route.
Turn the idea into a brief that can be quoted
Send a simple plan with approximate dimensions, site photographs and the main time of day you expect to use the space. Include the ground construction if known, the intended water outlet and any need for lighting or powered screens. The next decision is an agreed layout and configuration, followed by model-specific confirmation of supports, fixing and installation. This makes different quotations easier to compare and keeps decorative options from hiding the essential site work.