Solutions
Shipping & Installation
Local installation is available in the US, Canada, Australia and UAE. Elsewhere, request installer resources and remote assembly support.
Discuss your project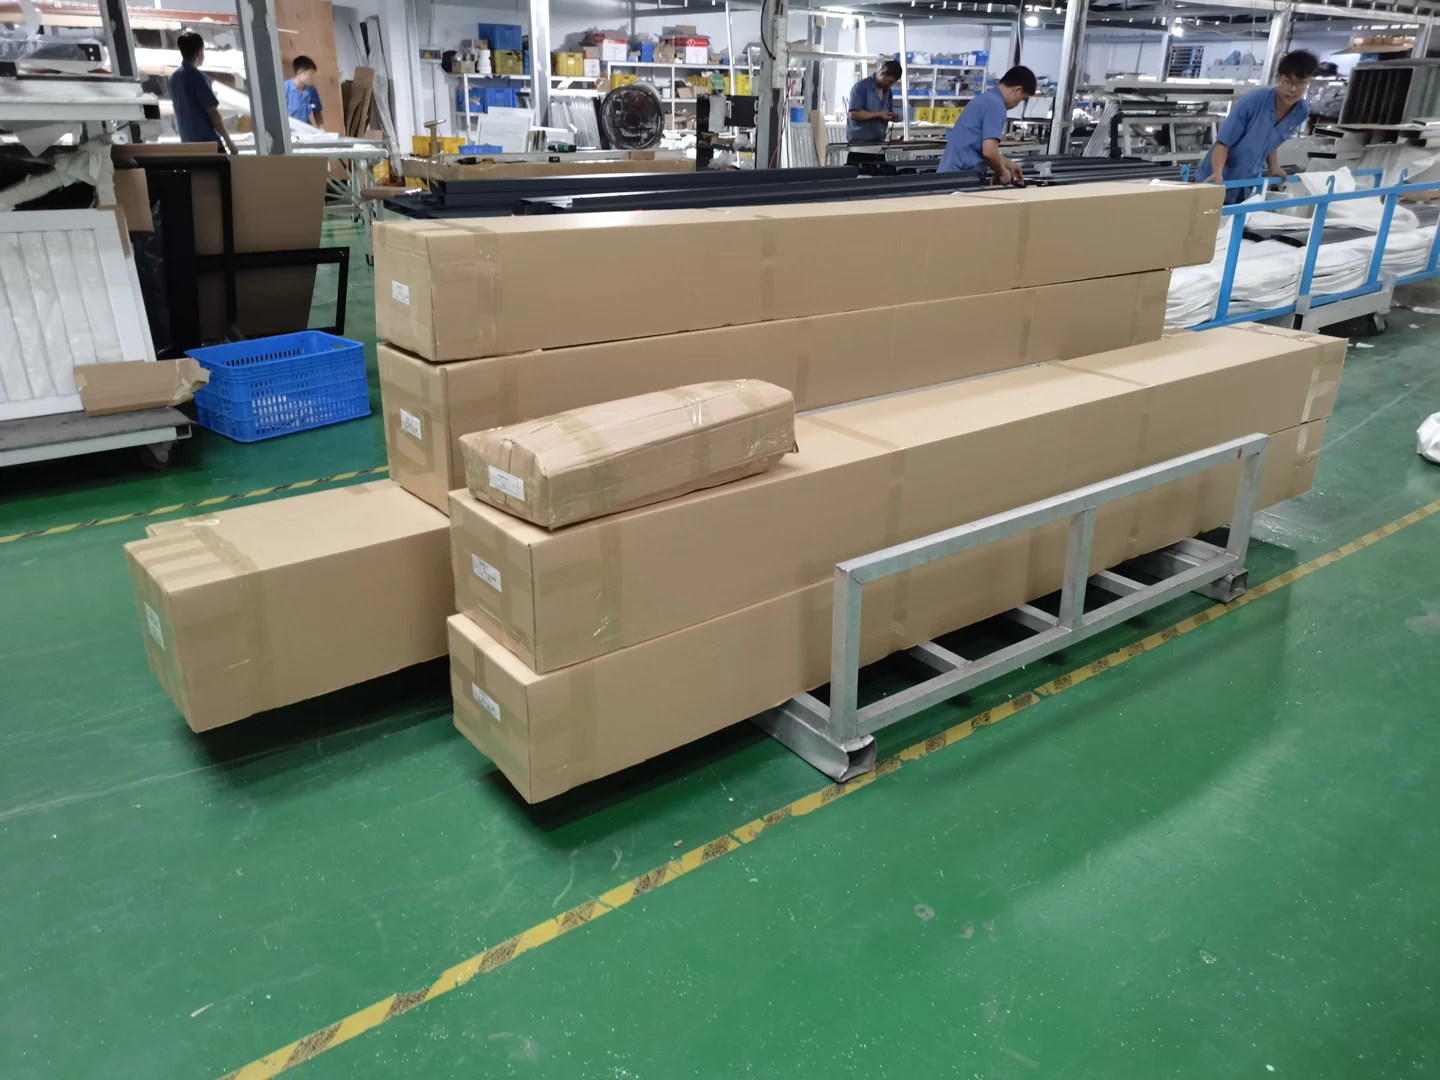
Confirm what is included and who receives it
List the supplied structure, roof components, controls and agreed accessories by model and revision. Then identify the receiving contact and the party responsible for unloading, storage, foundations, assembly and electrical work. A delivered kit and a completed installation are different scopes. Confirm the delivery arrangement, packing list and any documents required for the destination in writing, with dates tied to the actual order rather than a generic transit estimate.
Check the route from the vehicle to each post position
The narrowest gate, turning point or stair can matter more than the size of the terrace. Use the final package dimensions to assess access and handling equipment. On site, identify the structural substrate below decorative paving, the proposed fixing locations and any buried services. Foundations and anchors need project-specific selection by the responsible installer or engineer. Locate the intended drainage outlet and electrical supply before finishes make them difficult to change.
- Provide photographs of access restrictions and unloading space.
- Confirm the support surface and finished levels before fixing begins.
- Keep cartons dry and protect components according to their handling instructions.
Use the correct manual, then verify the frame before closing it
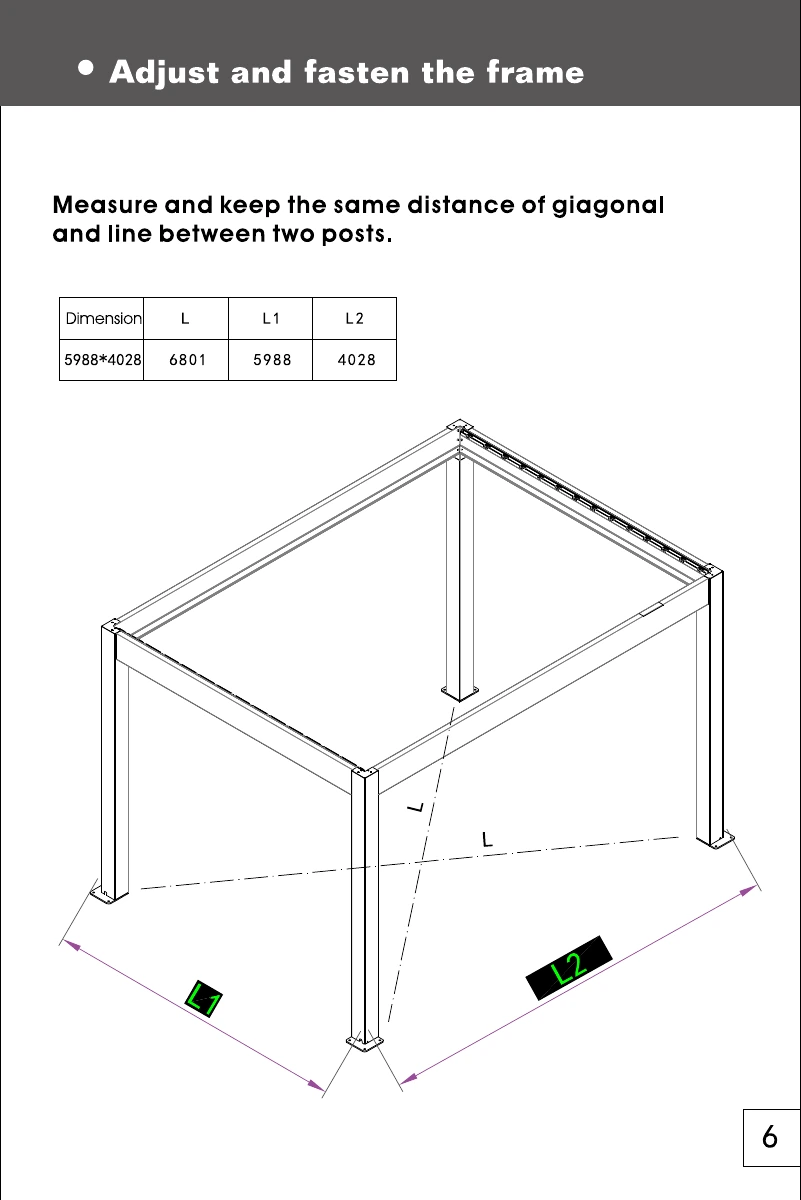
The library's 6 x 4 m manual under the 220 series shows a parts schedule, frame positioning, diagonal checks, gutter assembly and motor or LED connections. This sequence explains why checking the frame early matters: later roof and side components rely on its alignment. It is a reference for that documented configuration, not a universal fixing design. The installer should follow the manual supplied for the ordered model, verify its revision and resolve any mismatch before continuing.
Installation plan for a patio with restricted access
For a finished patio reached through a narrow side passage, check package access and the underlying support before ordering. Agree how paving will be protected and how the installer will reach each fixing point. After assembly, document alignment, movement of the roof and optional screens, visible drainage behavior and electrical commissioning by the responsible professional. Record any defect with the component, location and photographs before closing the handover. Retain the packing list, manual revision and acceptance record for later service.