Design details
How to photograph your site for a pergola quotation
TTH Pergola pergola design guide: give the supplier context, obstacles and detail views that relate to a dimensioned plan.
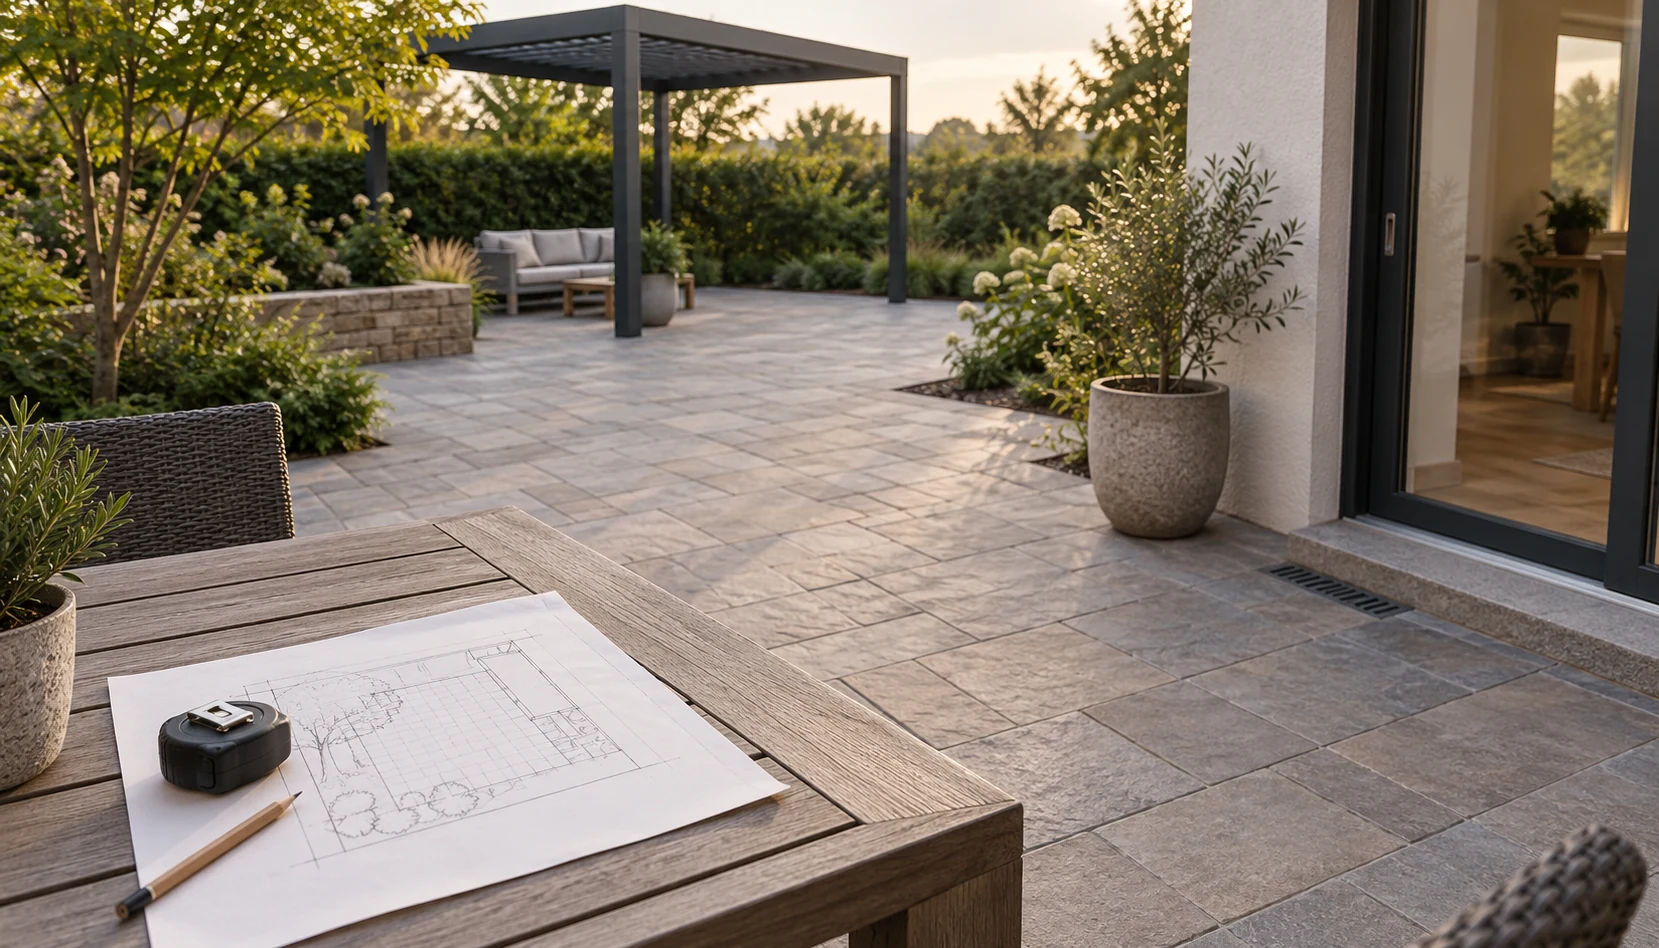
A useful site photo explains relationships
A close-up of the proposed installation area may omit the feature that most affects the design. The adjoining door, the route into the garden or a change in ground level can all sit outside a tightly framed image. Begin with a wider view, then add closer photographs of the features that need explanation. This gives the reviewer both context and detail.
For TTH Pergola enquiries, take the photographs as a short visual tour from the approach to the intended footprint. Mark the proposed corners on a sketch and use those references when describing the images. The product scenes on tthpergola.com explain what you like; your site photographs explain what must be accommodated. Keep dimensions separate and clearly labelled rather than expecting perspective to establish scale. If an important area is hidden, state that it has not yet been inspected. A good photo set does not need elaborate editing. It needs a clear connection between each view and the question it helps answer, so that the next design conversation can focus on the project rather than on guessing what lies beyond the frame.
Start with a complete view
Take a wide view that shows the proposed pergola area in relation to the house, garden and access route. Then photograph the same space from another direction. Avoid using only an attractive close-up of the paving, because it gives little information about the surroundings. Mark the intended footprint on a sketch and identify where each photograph was taken. The goal is to help the supplier understand the site, not to produce a promotional image.
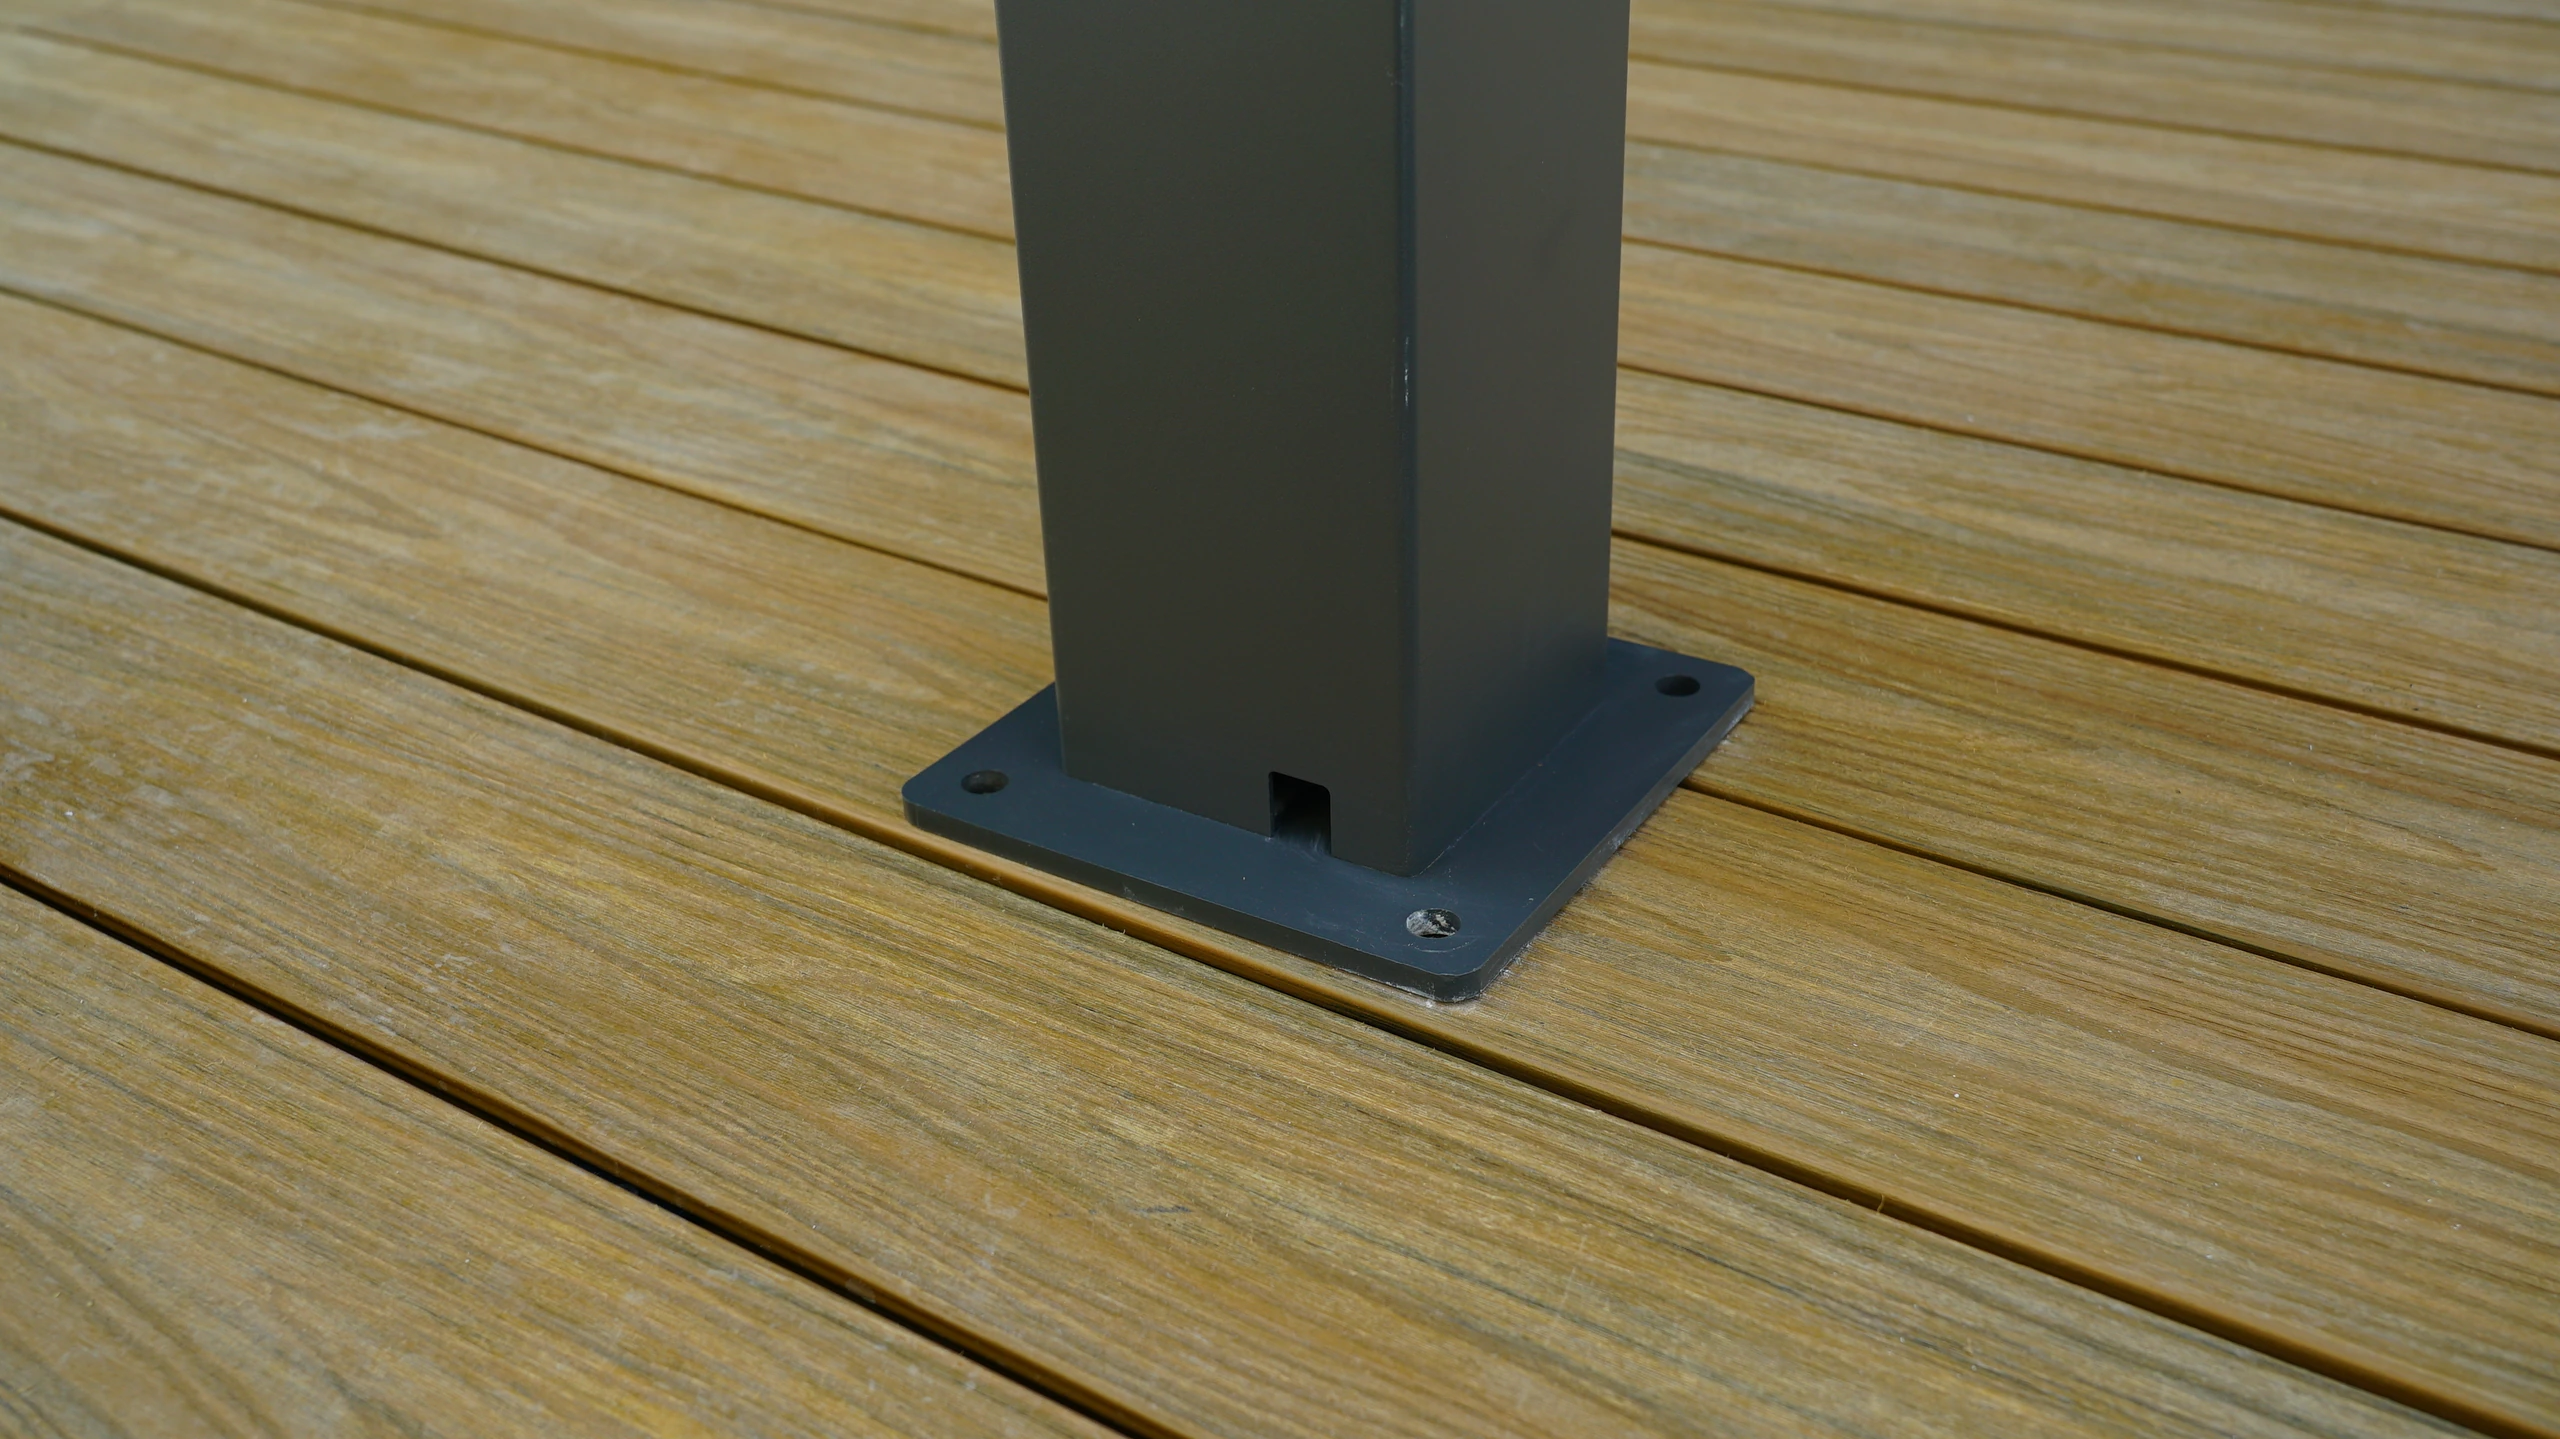
Add the details that affect fit
Photograph doors, eaves, downpipes, lights, steps and visible drains near the proposed structure. Include context so a detail can be located in the wider view. Keep the images sharp and avoid heavy filters that change visibility or colour. Photographs do not replace measured dimensions, so use them alongside a labelled survey. If something is concealed or uncertain, state that clearly rather than assuming the image provides enough evidence to confirm it.
Organize the set before sending
Give each image a short name tied to the plan, such as entrance view or side opening A. Separate current site photographs from inspiration pictures so the supplier does not confuse an example with the actual location. Include the date if site work is ongoing and replace outdated views after important changes. A small, organized set with accurate measurements is more effective than dozens of unlabelled images that leave the recipient to reconstruct the project. If images include temporary objects, identify them clearly so the supplier can distinguish an existing constraint from something that will be removed before the installation begins.
- Include at least two contextual views.
- Photograph obstacles with their location visible.
- Send images with a labelled dimension sketch.
How many photographs are enough for an enquiry?
There is no useful fixed count for every site. Cover the overall setting, the proposed area and the relevant interfaces without sending many near-identical views. Add a marked sketch so that the images can be understood together.