Installation planning
What to measure before ordering an aluminium pergola
TTH Pergola pergola installation guide: prepare a clear site survey covering footprint, height, obstacles, drainage and access before finalizing a pergola order.
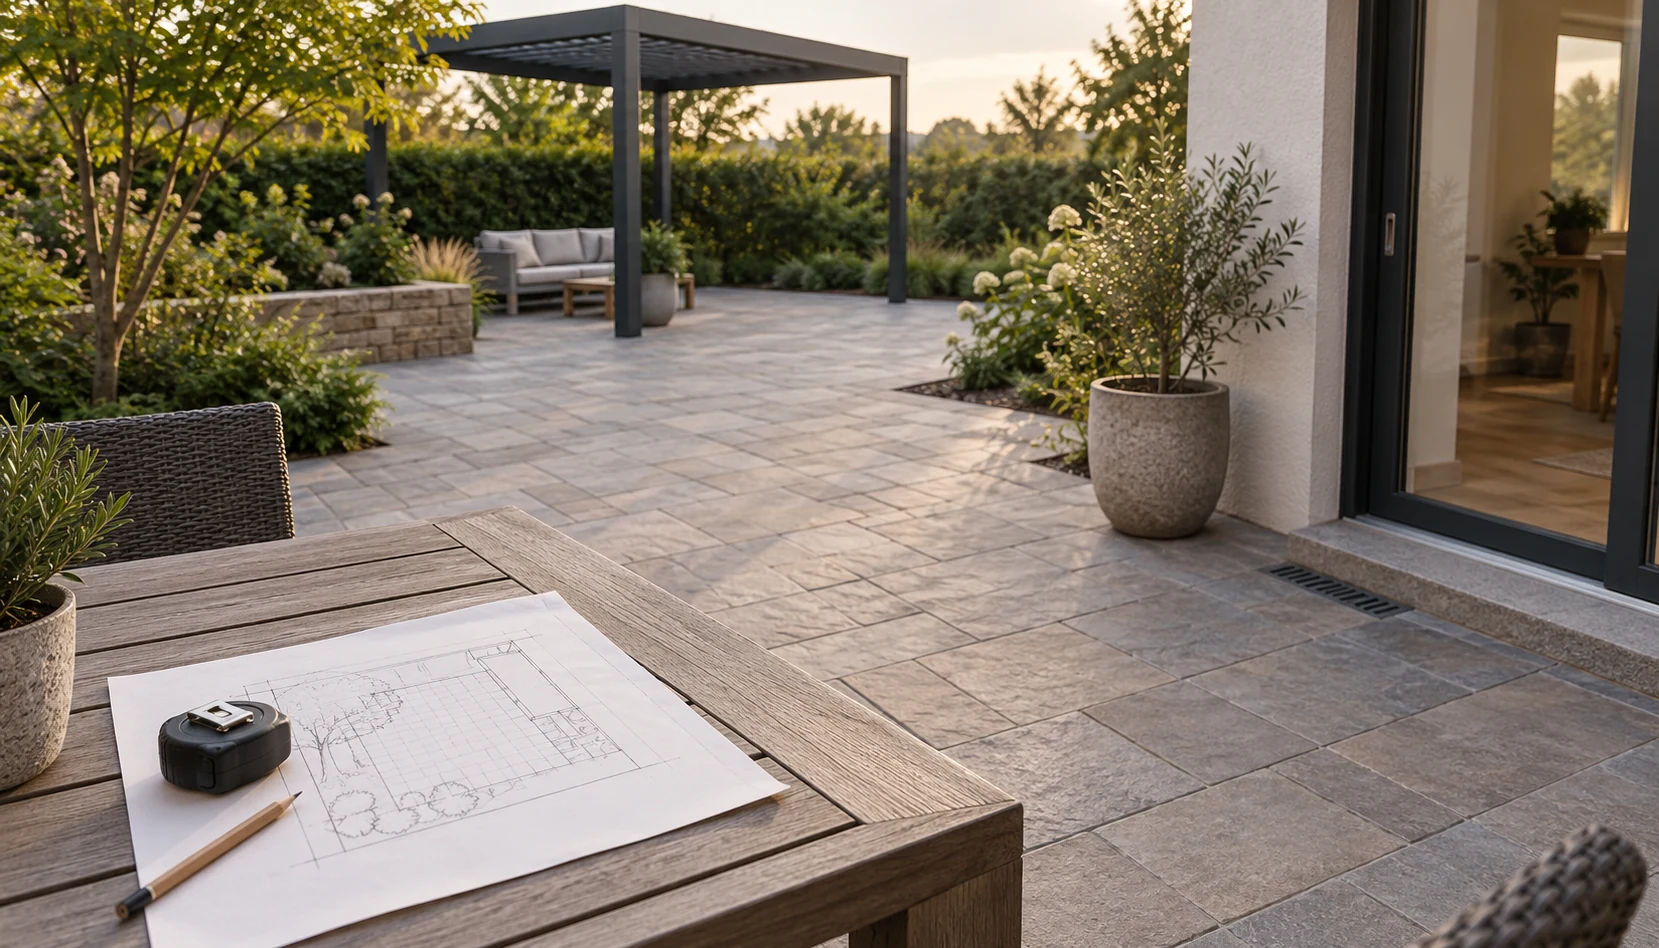
Good measurements describe a three-dimensional site
A terrace is rarely a perfectly empty rectangle. Steps, wall projections, drain covers and changes in finished level all affect where a pergola can sit. Start with a simple sketch that identifies fixed features, then connect each measurement to a marked position. An isolated number such as the garden width is much less useful than a dimension showing which two points were measured and at what height.
When preparing an enquiry for TTH Pergola, include the vertical information as well as the plan. Existing doors may open outward, eaves may project into the proposed roof area and the surface beneath the posts may not be level. Photographs with marked reference points help a reviewer interpret those relationships. The product pages on tthpergola.com can help you decide what information is relevant to the selected family, but measurements should come from the site rather than from scaled screenshots. If a measurement is approximate, label it as approximate. This is better than creating false precision and discovering a conflict after details have been agreed. A good survey makes uncertainties visible early so that the final measuring and approval responsibilities can be assigned clearly.
Measure the space the product must actually fit
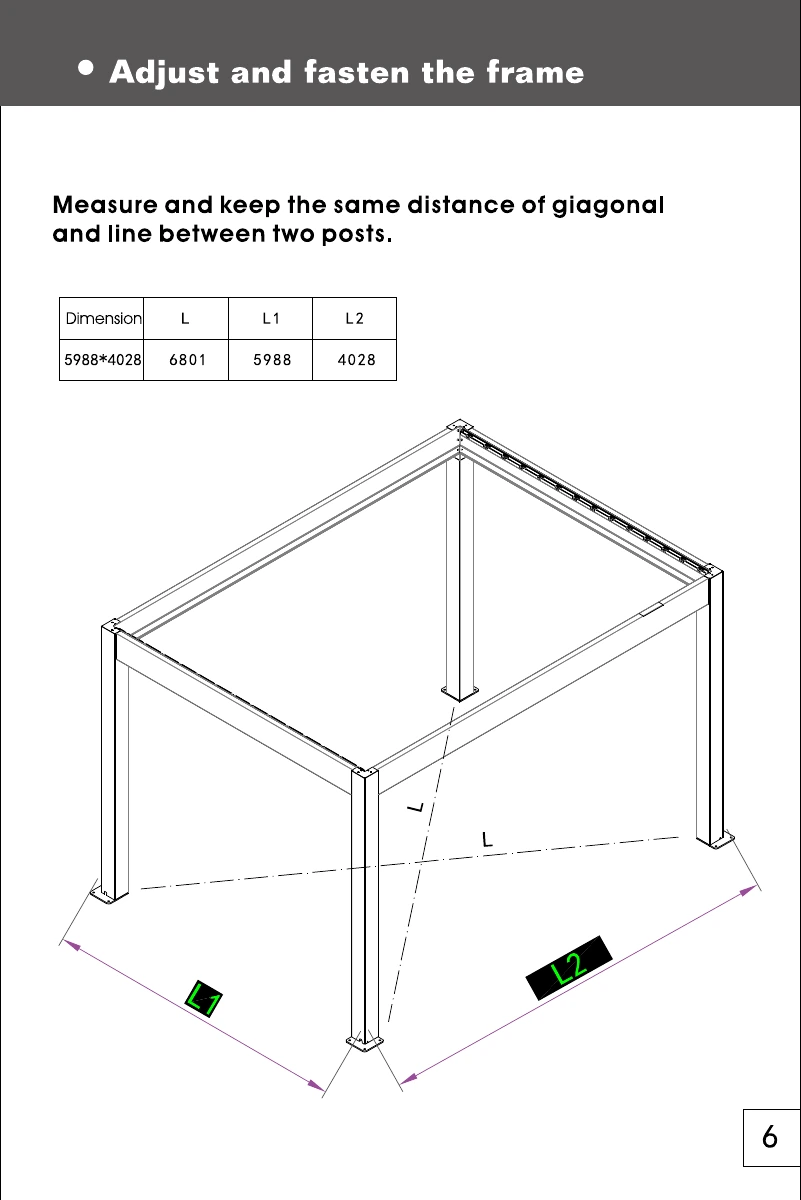
A pergola order needs more than one width and one length. Record the planned outside footprint, required clear space and height constraints, and label each measurement clearly. The roof edge, post centre and clear opening are different reference points. Using them interchangeably can create an expensive misunderstanding. A simple dimensioned sketch with consistent units is more useful than a collection of numbers sent in separate messages.
Record obstacles in three dimensions
Look above and around the proposed footprint. Door swings, roof eaves, window openings, wall lights, downpipes and exterior equipment can affect the final position. Note changes in ground level instead of assuming the terrace is flat. Photograph the space from several angles and mark the camera direction on the sketch when possible. These records help the supplier interpret the site without pretending that a remote review replaces an on-site assessment.
Use one survey checklist
Separate measured facts from proposals. For example, an existing drain location is a fact, while a proposed connection route still needs confirmation. Identify the supporting surface without assuming that its appearance establishes its suitability. Mark concealed services or uncertain areas for further investigation by the responsible installer. Accurate notes about what remains unknown are better than apparently complete measurements that contain guesses.
| Record | Include |
|---|---|
| Footprint | Outside dimensions and reference points |
| Height | Desired clearance and overhead obstructions |
| Ground | Visible surface, level changes and drainage |
| Access | Delivery route, openings and installation restrictions |
Check the final drawing against the survey
Before production, compare the supplier's drawing with the latest survey rather than an earlier concept. Confirm orientation, post count, roof direction, accessories and outlets. If a measurement changes, issue a revised sketch and ask which parts of the order are affected. Keep the approved drawing and the measurement record together. This creates a shared reference for delivery, installation and any questions that arise later.
Can a quotation be prepared from photographs alone?
Photographs can support an initial discussion, but they do not establish reliable dimensions or hidden support conditions. Combine them with a marked sketch, and distinguish an early TTH proposal from dimensions approved for manufacture.