Compact pergola living
Furniture covers under a pergola: check where water collects
When furniture covers collect water, inspect shape, support and removal rather than automatically adding another layer.
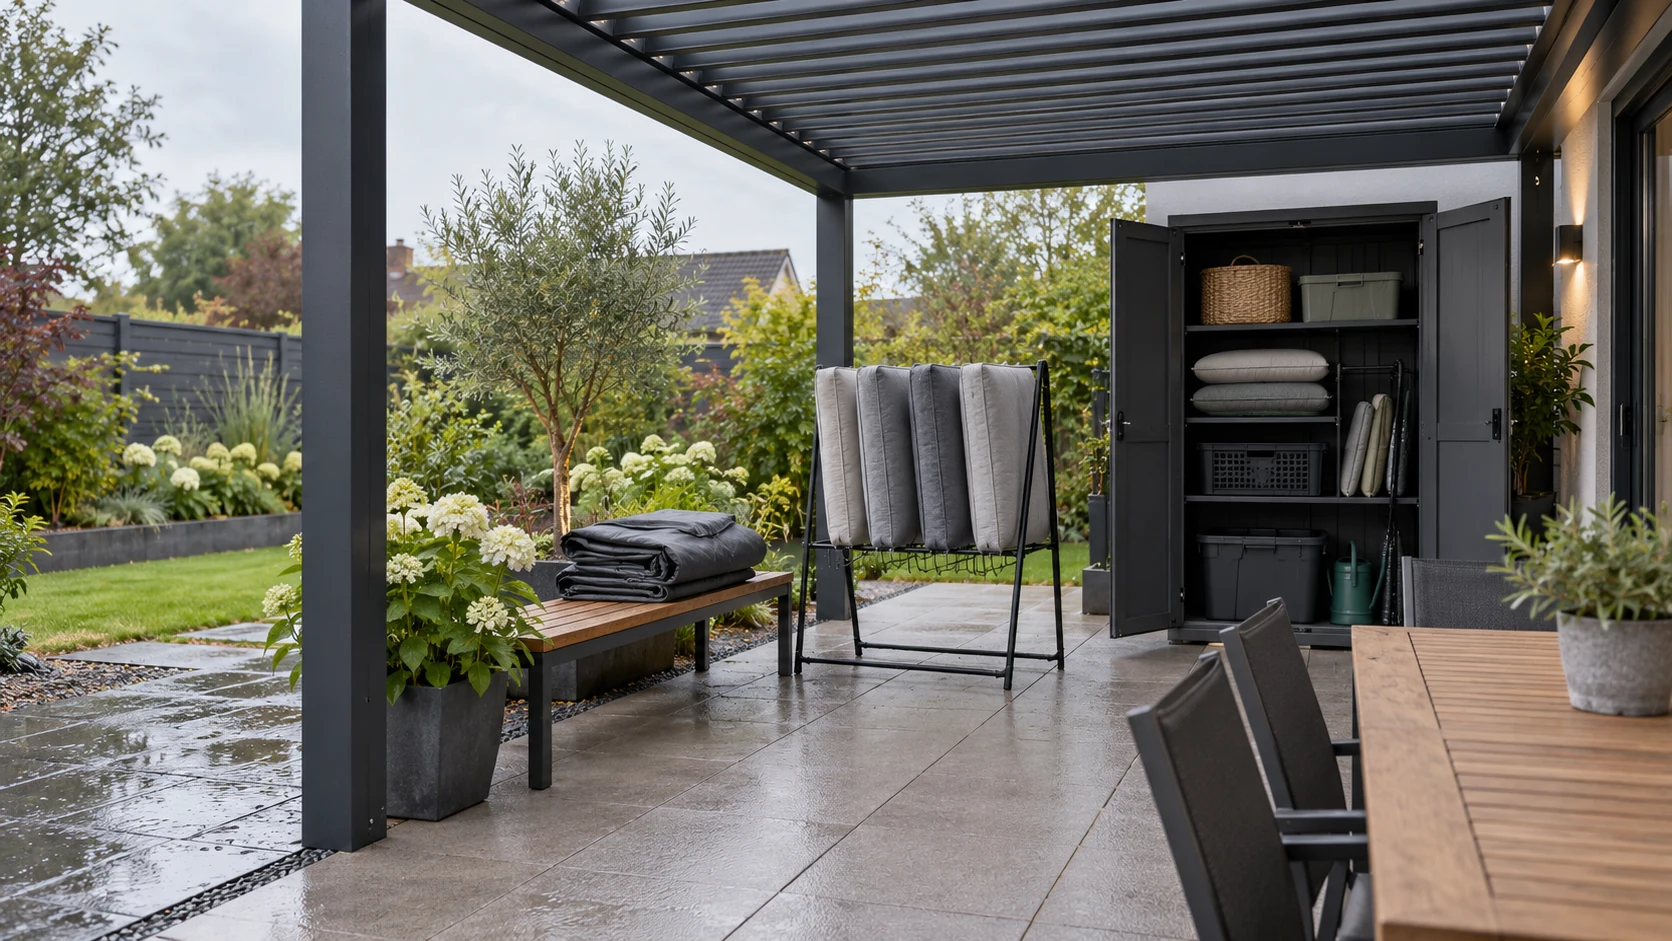
Start with the cover's shape
Water may remain on a slack furniture cover even beneath a pergola. Observe depressions, unsupported areas between pieces and whether securing follows the actual instructions. Adding another cover may simply preserve the original hollow. Verify dimensions, ventilation and support for the specific product; a tightly enclosed appearance does not establish better results. Record problems from accessible ground positions rather than climbing onto furniture to flatten the cover. Arrange suitable assistance for areas that cannot be reached safely using the instructed method.
Plan where water goes during removal
A cover that fits while stationary may still be awkward to remove. Releasing one corner can direct collected water toward cushions, a doorway or the operator. Read cleaning and removal instructions, assess water and nearby objects, and choose the appropriate process. Do not treat neighboring land or a walking route as an automatic discharge destination, or shake water off beside playing children. Furniture and cover care can differ. Provide temporary placement, cleaning and drying arrangements so a wet cover does not simply end up bundled in a cabinet.
Compare the actual low points
Imagine a shared cover over a table and taller chair backs, leaving a basin in its center. The household can investigate permitted supports or separate-cover arrangements, then observe later use. This hypothetical case explains geometry and collection points; it does not authorize improvised sharp supports that could damage furniture or fabric. Ask the supplier when instructions lack a suitable method. Photograph before and after with furniture in the same positions so the changed detail is identifiable, rather than comparing unrelated scenes as proof of success.
Create a repeatable inspection sequence
Record the cover model, furniture combination and securing points, checking compatibility and identifying the regular operator. Shape, fasteners and nearby water marks can inform inspections, with frequency and care following product requirements and site conditions. Do not conceal tears or damaged fittings by pulling harder; obtain the appropriate remedy. If the source involves pergola drainage or unusual dripping, inspect that system separately instead of expecting a cover to replace repair. Distinguishing source and collection problems helps identify the part that actually needs attention.
- Record depressions and furniture support positions.
- Plan water paths and operator positions during removal.
- Inspect cover issues separately from abnormal roof drainage.
Will a thicker furniture cover solve pooled water?
Not necessarily. Depressions, furniture geometry and support can cause pooling regardless of thickness. Check fit, securing and support instructions and plan removal. Investigate abnormal pergola drainage separately rather than relying on a cover to replace maintenance.
More questions, practical answers →