Hardtop pavilion planning
Adding gutters to a hardtop gazebo: confirm attachment points first
Confirm eave details and permitted attachment points before adding aftermarket gutters.
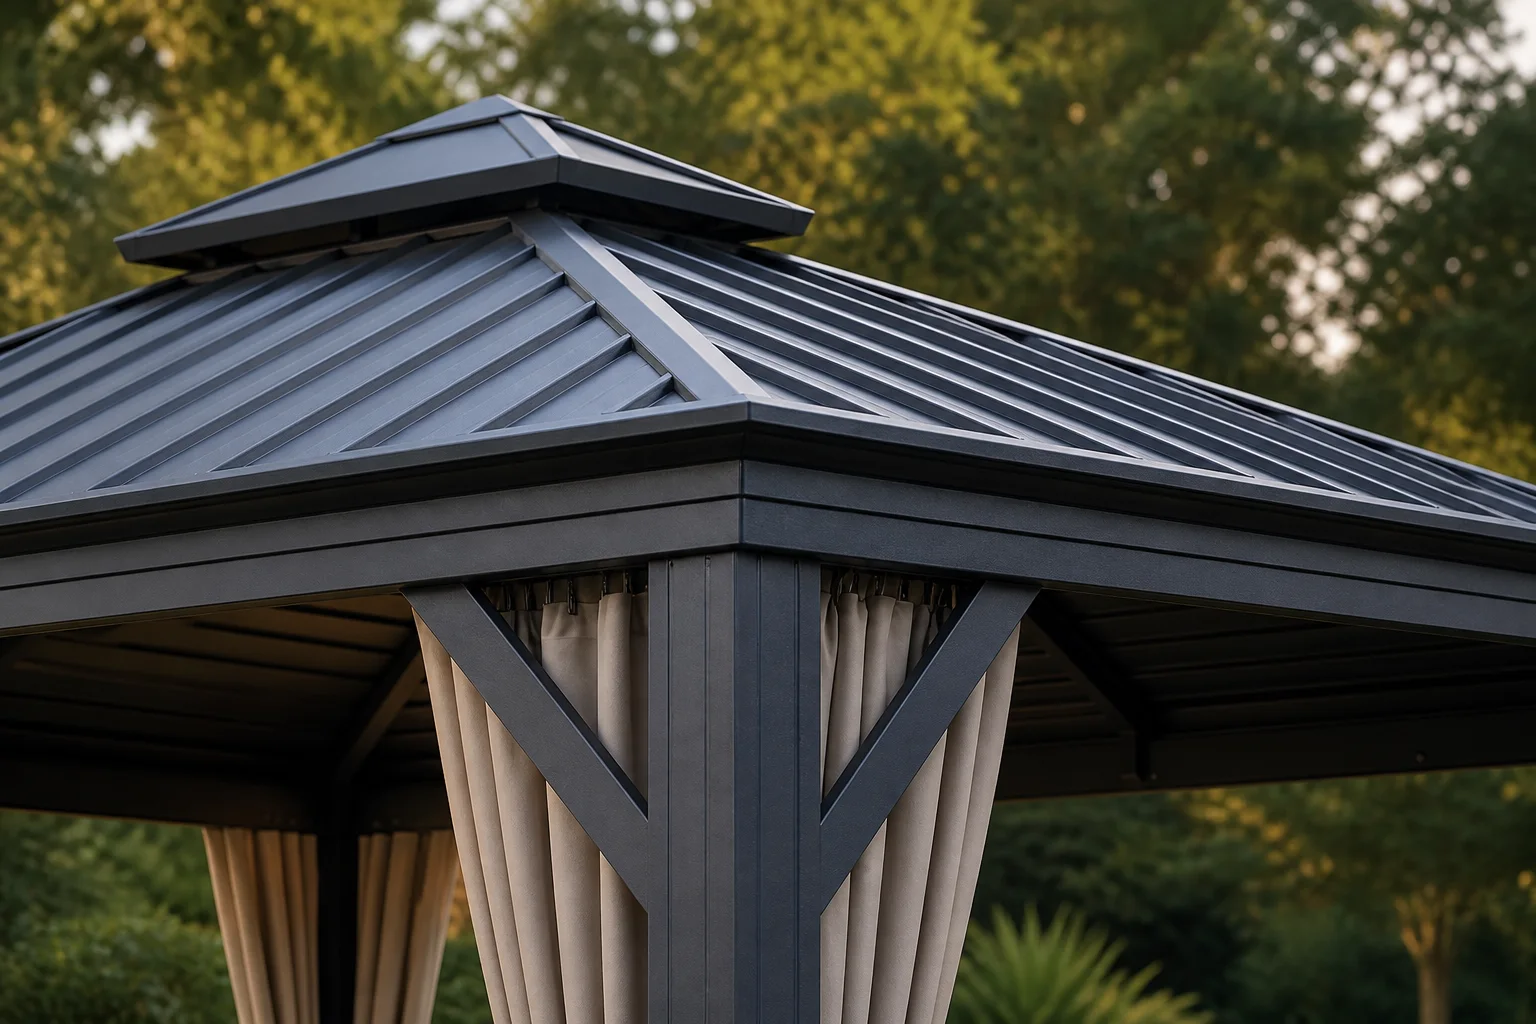
Find a supported attachment location first
Before adding gutters, establish whether the gazebo model supports the proposed accessory and how it relates to the roof. A straight-looking eave edge may be decorative trim or a required access area rather than an approved fixing location. Give the supplier the model, locating photographs and gutter information. Do not buy generic pieces first and ask the installer to find somewhere to drill. Resolve compatibility before purchase so water collection does not introduce an unreviewed change to connections, finishes or service access.
Review attachment, collection and discharge separately
The proposal should explain where the gutter attaches, which roof edge feeds it and where collected water goes. Matching length alone can miss corners, outlets and cleaning access. Have responsible personnel review the actual roof and site rather than infer that every interface is already provided. Include matching trim or other components in the quotation. Coordinate discharge with paths, planters and facilities instead of improvising a hose route afterward. Both attachment and site arrangements belong to the accessory scope.
Consider a gutter beside a garden path
Imagine an owner wanting fewer eave drips beside a garden path. Show the target area and adjacent roof corners so the supplier can assess a supported arrangement. If the outlet lands on another frequently used route, the problem may merely move. Map nearby facilities and compare confirmed discharge options. This scenario does not promise a dry path in every condition. It keeps the accessory purchase connected to the actual use problem rather than simply finding a length of gutter that appears to fit.
Keep cleaning and replacement practical
Confirm interactions with trim, curtains and lighting, along with access for cleaning and removal. State installation and accessory-service responsibility, then keep model and connection records. Do not solve fit problems with unapproved adhesive, clamps or screws. The useful result connects the target location, supported attachment, discharge and care.
If a proposed accessory is unsupported, consider other confirmed site arrangements rather than presenting a generic gutter as a universal upgrade. Retaining that boundary makes the decision more accurate.
- Confirm attachment compatibility with the actual model.
- Map collection edges, corners, outlets and occupied routes.
- Retain installation, care and replacement responsibilities.
Can a correctly sized generic gutter be screwed to the fascia?
Confirm the permitted attachment and complete accessory arrangement first. Fascia is not automatically a structural mounting point. Review outlet, site routes and service access rather than improvising holes or adhesive to solve uncertain compatibility.
More questions, practical answers →