Hardtop pavilion planning
A gazebo can fit while its assembly access cannot
Confirm an assembly working envelope separately from the finished gazebo footprint.
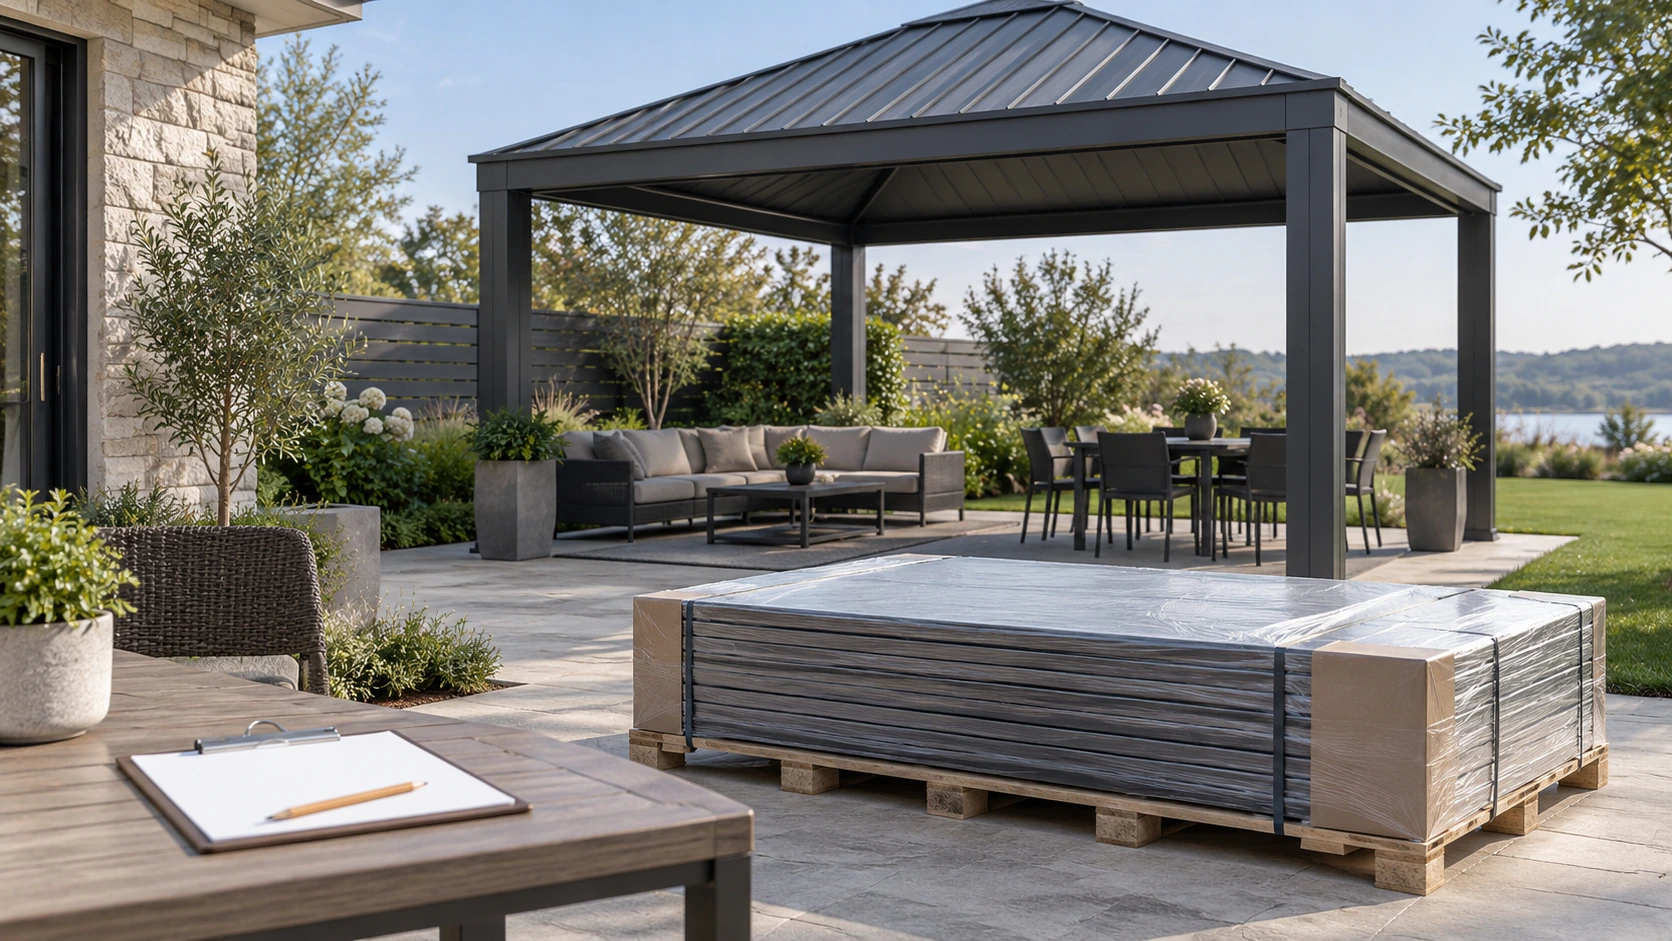
Draw the working area beyond the finished outline
A gazebo may fit the garden while leaving insufficient space for its required assembly method. Post positions and roof projection describe the finished product; work also needs material staging, personnel movement and suitable equipment access. Give the installation lead the surrounding walls, steps, fixed cabinets and narrow routes before ordering. There is no universal clearance distance for every kit, and the owner should not devise a lifting method. Confirm both the finished fit and the feasibility of correct assembly as separate questions.
Describe permanent obstacles accurately
Include heights, openings, overhead obstructions and ground changes as well as plan distances. Distinguish removable furniture from permanent construction. If a planter must be removed or a route cleared, assign the task and timing rather than relying on an assurance that space will be available. Work may also affect house access or business activity, which needs coordination. Ask the installer to state requirements tied to the actual method instead of copying a video filmed in an unobstructed yard.
Consider a garden bounded on three sides
Imagine a courtyard with walls on three sides where the finished dimensions fit closely. Length and width alone may hide an access problem beside the roof edge. Elevations and route photographs allow the installation team to assess supported methods or an alternative proposal before ordering. A confined site is not automatically impossible; its limitations need review. Later additions such as wall lights or fixed equipment may change the assessment, so an earlier informal assurance should not stand in for confirmation of the current site.
Include site readiness in the installation handover
The installation handover should identify working areas, objects to remove, routes to retain and who prepares them. Confirm the actual conditions before dependent work begins rather than forcing the crew to improvise in inadequate space. Agree restoration after temporary relocation, particularly for furniture or facilities moved to enable installation.
Photographs of the prepared site help remote coordination but supplement rather than replace site decisions about equipment and working methods. Purchasing requires both a suitable product layout and a feasible installation arrangement.
- Confirm finished footprint and assembly working area separately.
- Provide plans, obstacle heights and route photographs.
- Assign clearing, access and restoration responsibilities.
Can I book installation simply because the product is smaller than the garden?
The installer still needs to assess working space for the actual method. Provide obstacle and route information, arrange required clearing and confirm readiness. The difference between two dimensions does not prove installation feasibility.
More questions, practical answers →